Sunday, January 29, 2012

How to make your own hand painted fabric!

Here is my handpainted mini fabric line!
If you have never tried your hand at painting fabric, please do, it's fun and rewarding.  Now the next challenge will be to create a small quilt with it. 


I'll keep you posted!


How did I do this, well I started off with Prepared for Dyer's fabric known as PFD which you can get at your local quilt shop.


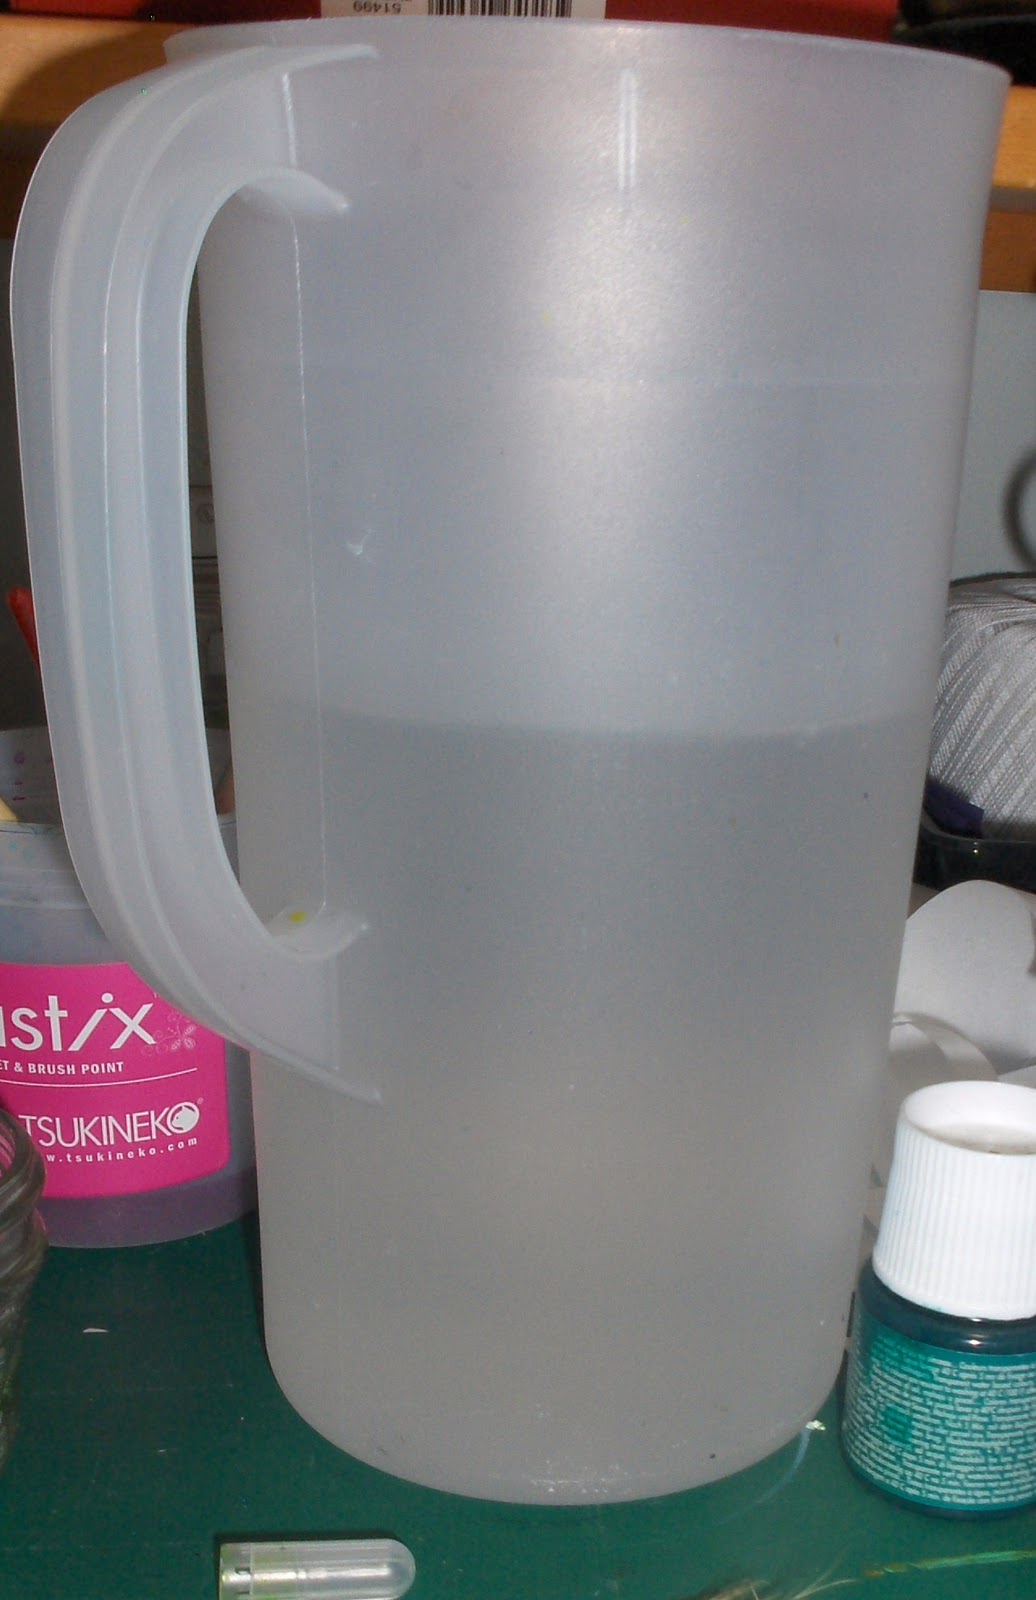
Next you wet your fabric,  I put my fabric into the jug, you can use a basin or plastic tub.


  • Once your fabric is completely wet, squeeze out the excess water and lay it flat on an old towel (fold the towel in four, so you have 4 layers)
  • Mix your paint (I used Pebeo Setacolour transparent and opaque) with water and start brushing away. 


Once you have your fabric painted, cover your ironing board with an old towel 
  • place your piece face down, and with a hot iron (cotton setting) iron piece until it's dry. Place your painted fabric back on your painter's towel and paint with a variety of rubber or wood block stamps  using an all over pattern. 


  • Return to the ironing board and place your piece face down and iron from the back. Iron until the paint is completely dry!   Viola, your piece is heat set and ready to quilt with!

Guess What we have been up to - Hand Painted Fabric!

Sunday at Quilted Escapes is play time and today I thought I would try my hand at hand painted fabric!  I was having so much fun, I thought I would share with you what I have created.  Here are some pictures of the fabrics I have created!

This is going to be a class! 


I'm not to keen on this one, but 3 out of 4 isn't to shabby! 

Sunday, January 22, 2012

Friday, January 20, 2012

Spring in Maple Ridge - Shaving Cream, Tsukienko Inks and Organza!

This is a fun project using a combination of shaving cream, Tsukienko Ins and Organza! 

Saturday, January 14, 2012

Our first snowfall for 2012!

When the snow falls the sense of tranquility is all around!  Here is our home with the first fall of snow in 2012!

Tuesday, January 10, 2012

Bernina Stitch Regulator

As you know from my previous posts, I have had the opportunity to use a Bernina 550 Quilter's Edition. 
For the last 2 days I have been using the Bernina Stitch Regulator.  As a machine quilter and teacher this was an opportunity I couldn't refuse. 

While I am qulting away using the Bernina Stitch Regulator I was thinking about my Dad.  He was a wonderful wood worker and cabinet maker.  I remember him saying to my one day, it's important to learn how to use the hand tools first and become proficient in them.  Once you understand how these tools respond when using them, you  then can appreciate the power tools and what they have to offer. 

As I use this Bernina Stitch Regulator I realized humbly that he was right.    I 've been  machine quilting without a stitch regulator since 1990.  It has taken alot of practice to learn the art (yes the art) of machine quilting.  Making sure that you regulate your stitches so they are not what I called "Morse Code", you know the ones, dash, dash, dot, dash, dot! 
I enjoyed   using the Bernina Stitch Regulator,  although it took some time to get use to.  For those quilters who want to do free motion quilting, but do not want to practice, practice, practice, this is what you need!  It gives you the opportunity to do free motion quilting without having to do all the work. 

I have alot of freinds who are beautiful machine quilters, not a stitch regulator in sight! I know that they might disagree with me, but I'm not sure they have had the same opportunity granted me.

I now appreciate the stitch regulator  and what it has to offer the home sewer/quilter.  You will still need to take machine quilting classes to learn other machine quilting skills, but regulating you stitches will not be one of them!

 I will always be learning new designs, but what a treat it was to use the stitch regulator.  Thank you Pam and Judy at  A Great Notion for this wonderful opportunity!

Have a great week!

Sunday, January 8, 2012

Bernina 550 - little project using the Bernina 550 - My scrapy table topper

It's hard to believe, but I did make this small scrappy table topper using leftovers from my stash, you know the ones, left over scraps of binding, fabrics to large to throw out and thread spools that were almost empty and scraps of batting to boot!  I used the Bernina 550 and it does do a wonderful stitch.  I used the decorative stitches and left over thread to emblish the blocks.  It has a wonderful array of decorative stitiches, and the stitching is nice. 

Since I have the machine for another week, I thought I would use the Bernina Stitch Regulator.  I will let you know how it goes.  Until then, here is a picture of my little 2012 Bernina 550 scrappy table topper!

Wednesday, January 4, 2012

Bernina 550

Well, I have been sewing with the Bernina 550 and boy it has a beautiful stitch! This machine has a needle up/down button, so you can keep the needle in a down position while pivoting during the applique process and when you stop during the machine quilting process. 

One thing I miss though is the scissor cutter.  If you haven't had it then you won't miss it but I have, it on my own machine and it's something you can't do without once you have it.

It has a wonderful selection of decorative stitches, so if you are a seamstress, it has a wonderful selection to choose from to make your outfits one of a kind.  It also does a wonderful buttonhole, as it stitches both side of the buttonhole from back to front. 

This machine also comes with the Bernina Stitch Regulator, so if you want always wanted to machine quilt but find it so intimidating, this
is great for the beginner as it  will give you perfect machine quilting right from the start. 

As a quilter I would prefer a longer arm and a larger table as a I machine quilt large quilts. 

It's user friendly, it has a beautiful stitch and as I mentioned it's great to take to classes, retreats and workshops. 

So I give this a thumbs up!

Thank you for the opportunity to try this machine, but it has to go back!

Monday, January 2, 2012

Bernina 550 Quilter's Edition Sewing machine!

I have been given a wonderful opportunity to work on the new Bernina 550 Quilter's Edition Sewing machine here in the studio for a few weeks and thought that I would blog about my experience! 

First thing I liked about the Bernina, was their website.  They have a wonderful informative section that shows you how to use the machine.  By selecting the model, they offer a variety of videos to show you how to use the machine.

Please keep in mind, when you purchase a new machine whatever the make or model, make sure that the dealer offers support. If the offer lessons, take them!
  • One the most important points I can make is that should you decide to purchase your machine from the states, then the servicing, warranty and support will only be done by the shop you purchased your machine.  You cannot take your machine that you purchased in Bellingham, USA  to your local Bernina dealer in Vancouver, Canada and expect warranty, classes or support.   The machines have the service, warranty and support  built into the price of the machine.  So keep this in mind at all times.
In my own personal experience, price should never be the only consideration taken when purchasing a machine.

Okay, now let's get started!

Now I have taken the machine out of the box and I'm now setting it up.  

1.  It's a great size for taking to classes. Not to big.
2.  It has an easy slide on extension table.
3.  The harp is small so the length of the arm is short 7 1/2" from the centre of the needle.  My Elna 7200 Pro is 9 inches.
4.  It has a free arm, which is great for the sewer as well as the quilter
5.  It comes with a walking foot with  interchangeable soles - one for general sewing, quilting sole and an edge stitching and in the ditch sole. It also comes with a seam guide

Okay, look for my next post!  We talk about the actual stitching!

Resolution Tips for the Quilter/Sewer

 Resolutions tips for the Quilter/Sewer 2012


  • Have your machine cleaned and serviced
  • Remember to change your sewing machine needle(s) after every project. Needles can become dull and can snag fabric. New needles stitch crisp stitches. I recommend changing your needle(s) after 8 to 10 hours of sewing.
  • To take advantage of limited sewing time, keep together all the supplies that you are using for each project - Michael's have scrapbooking plastic containers that a great to use so you can quickly get back to where you left off.
  • Be sure to test sew even if you are doing something you have done before. If you forget to change certain settings on your machine, you will find the problem before you start on your actual project. Save yourself from ruining good pieces of fabric!
  • When you finish a project cut your leftover scraps into 5" squares, 10" squares, or 2 1/2" strips. Store them together with like size scraps, and on a rainy day pull them out and make a scrappy quilt.
  • Slim down the stash - Go through those stacks of fabric, any pieces you no longer want, and try donating them to a local sewing guild, quilting guild, school or church group.
  • When sewing for yourself and those you love, remember to sew at least one gift per year for someone you've never met
  • Get inspired this year by subscribing to Quilter's Connection magazine http://www.quiltersconnection.com/ 
  • and remember take time to sew for yourself!
Happy New Year everyone!